At some point, you will likely have to paint your walls a different color in your home improvement projects. It is essential to know the steps you have to take before you start painting and what to do to make sure the paint is applied correctly. This article will take you through the prepping process and the painting process so you can successfully put a nice new coat of paint up to make your home’s interior look that much better.
Prepping
First, you will need to pick out a color that looks the best for that room and your tastes. Using a paint card from a hardware store can sometimes be misleading. It is best to try out the paint by painting a swatch on a drywall piece and placing it in the room you plan on painting.
It’s best not to apply the sample directly on the wall, as if you chose to go with a different color, you will see the sample color come through, especially if the sample is darker than the final choice.
Of course, if you don’t have the funds to buy multiple jars of paint, you can use the paint card but be advised that the color will sometimes look slightly different when it dries.
Also, be sure to wear safety goggles and old clothes you don’t mind getting stained if any paint splashes onto you while painting.
If possible, you should remove all furniture out of the room, for the time being, to avoid getting paint splattered on them. Otherwise, it would be best to protect the furniture by wrapping every piece in disposable plastic.
Dust off the walls using a vacuum cleaner or towel to ensure that no debris will affect the painting process. If you are painting tile walls like in a bathroom, use a solution of 3 teaspoons of laundry detergent and a gallon of water to wash it.
Sand down any plaster bumps and scrape away any old, flaky paint using a paint scraper. This step will ensure your wall looks nice and flat when you finish painting.
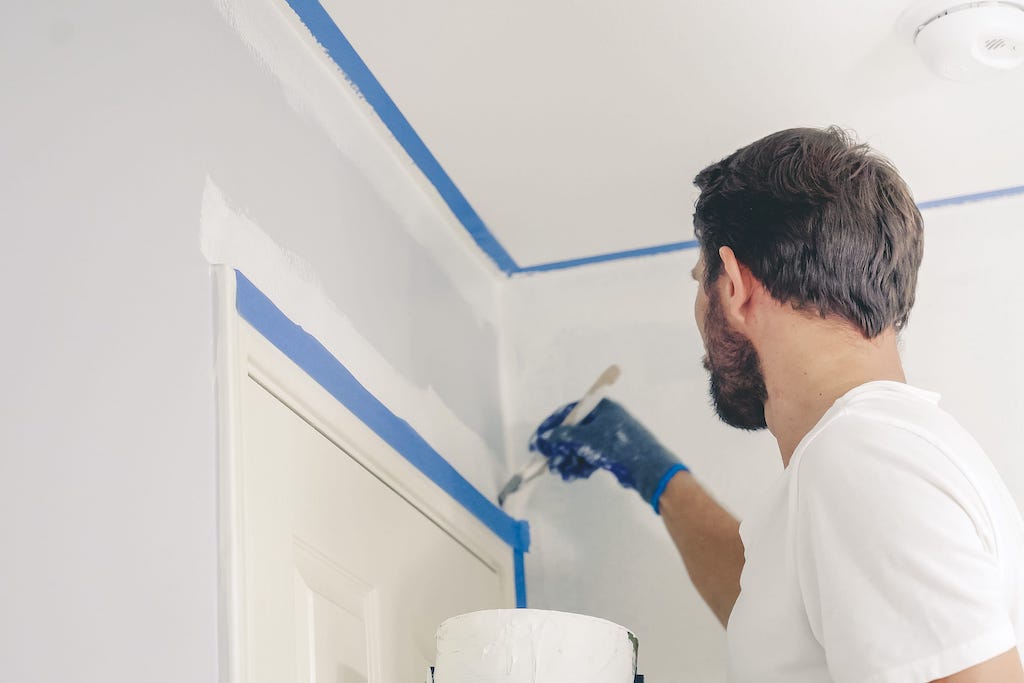
Then, using painter’s tape, you can protect the baseboards, the edges, the outlets, and any unwanted surfaces attached to the wall from being affected by the paint. Afterward, the tape peels off easily, and the edges look sharp and clean.
Painting
Start with the wall corners closest to the ceiling, ideally, using an angled brush to maneuver around these corners to get a smooth coat around them. Using a smaller brush, start painting around your trim and the other corners of the wall where rollers will not easily reach.
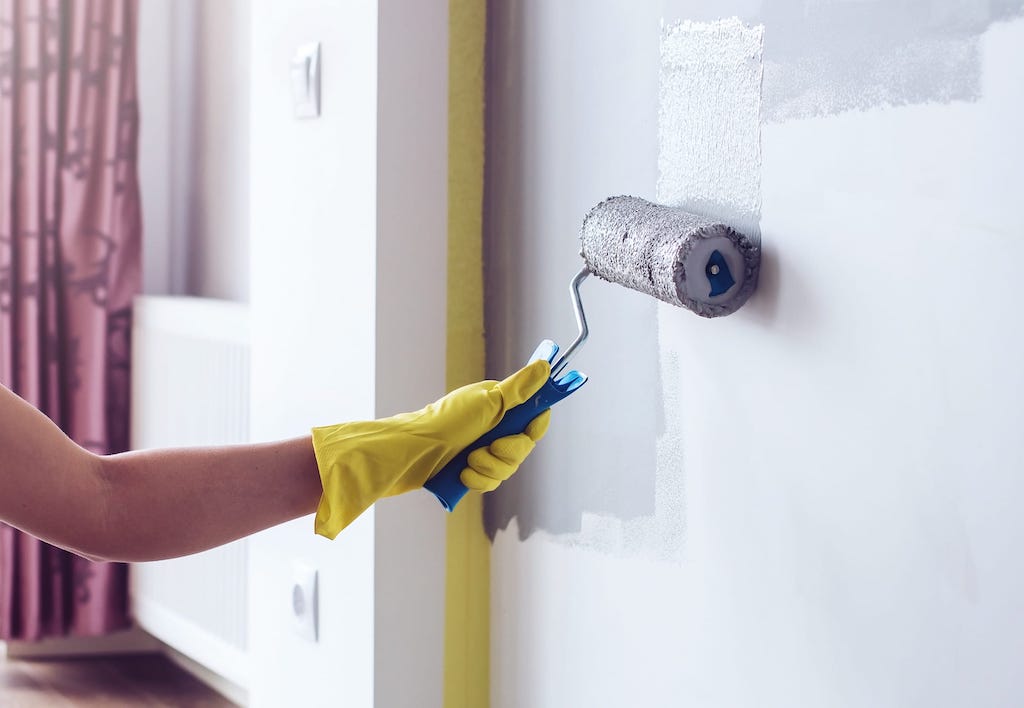
Once you have your wall essentially outlined, begin to use a paint roller to fill in the wall’s large portions. Be sure to chose the correct roller nap based on your wall’s texture. If your wall has a heavy texture, use a thick nap roller. Contrarily, if you have a fine texture or smooth walls, choose a thin nap or even a foam roller.
Be generous with the amount of paint you use, as it will usually take a couple of runs to paint an entire wall. Look closely for drip marks and be sure to get to them while they are still wet by rolling over them.
After you finish using the roller, give your wall one final look and fill in any gaps you see using the right brush. Finally, clear out of the room and let the paint dry until the smell of fresh paint leaves the room.


