Whether you built your own home or purchased a readymade house, you probably had to work with concrete at some point. Walkways and driveways are heavily beaten and rammed down, so building them with concrete helps sustain the daily abuse from foot and traffic. But to keep these outdoor areas in good condition, regular cleaning and sealing are essential.
 Cleaning Phase
The first thing to do is select the proper pressure washer, depending on how deep the stains are—there are two types of washers: spray tip and nozzle. If you opt for spray tips, you can pick a wide pattern (minor stains) or a narrow pattern (tougher dirt). Nozzle types are specific to certain models. Be sure to wear suitable clothing and the appropriate safety gear: splash-proof safety goggles, chemical-resistant gloves, long pants, and closed-toe shoes.
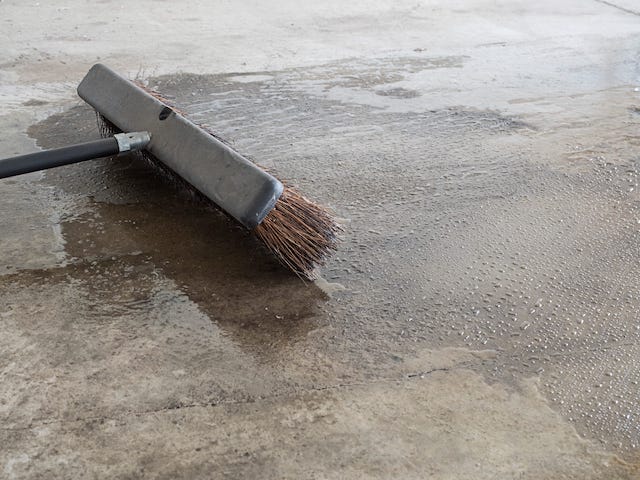
STEP 1: Wet the Concrete and Add Cleaner
A little water helps to get everything ready for the cleaning.
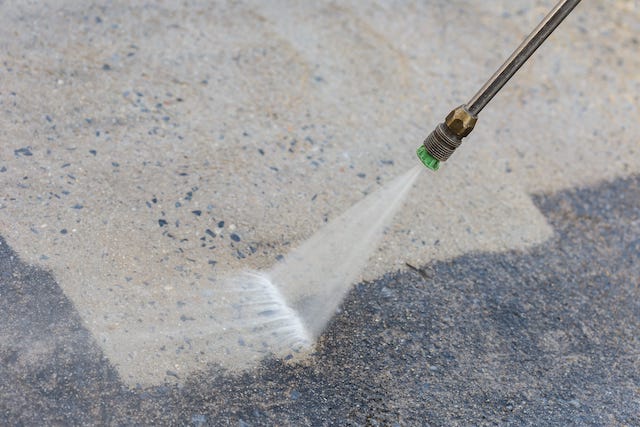
STEP 2: Use Pressure to Wash
Link a garden hose to a pressure washer and clean the surface with a concrete cleaner and soap.
STEP 3: Rinse and Flush
Before you start rinsing, clean up the detergent and turn off the pressure washer. Use a pressure spray tip all over the concrete, keeping a distance from the surface of eight to 24 inches.
STEP 4: Repair the Cracks 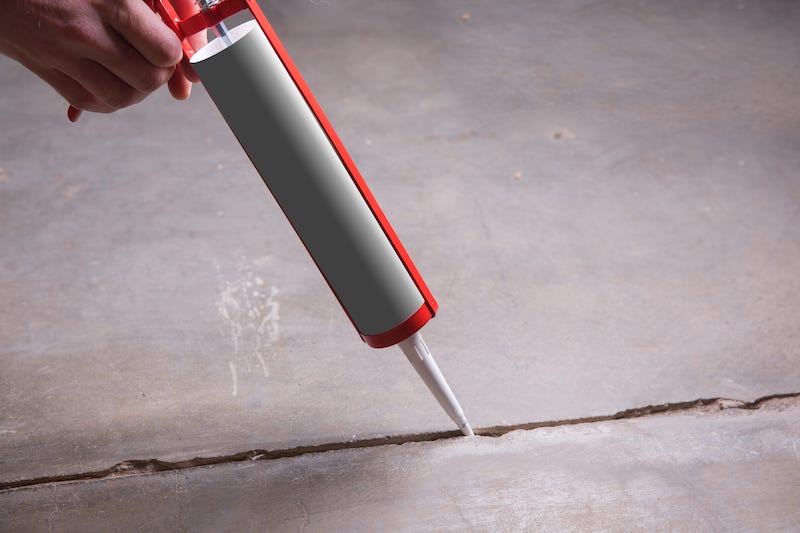
Any cracks and chips on the surface must be filled prior to sealing the surface. Use a concrete patching compound for cracks larger than 1/4″ and epoxy for cracks smaller than 1/4″. Once completely dried, lightly sand the surface for a smooth appeal and vacuum the residue.
Sealing Phase

Sealing will protect concrete from future stains and damage. Once the concrete has dried, after about 24 hours, you can apply a concrete sealer. Depending on the product type, sealing may leave the surface either shiny or matte. Be sure to wear splash-resistant goggles and chemical-resistant gloves before working with the sealer.
STEP 1: First Coat of Concrete Sealer
Pour the sealer into a sprayer’s tank and start covering the concrete. Make sure the sealer does not build up in specific spots. If needed, remove the excess with a rag. Once completed, let the first coat dry. You can also use a paintbrush to fix edges and seams.
STEP 2: Second Coat of Concrete Sealer
Before proceeding with the second coat, check the sealer’s instructions, as you may need to apply it differently than the first coat.
 Why Is Concrete Cleaning Important?
Dirty concrete is not only unpleasant aesthetically, but it can also reduce its lifespan. Over time, mildew and bacteria may accumulate, causing cracks in your concrete by eating it away. This will make a walkway potentially slippery and challenging to walk on. Concrete pavements are constantly exposed to external agents that can attack their structure. Cases of extreme weather conditions or heavy vehicle traffic may even lead to early deterioration and wear.
Summing Up
To keep your concrete in good condition, occasional cleaning is not enough – routine maintenance is just as important. You can use a broom or leaf blower to remove debris, but you should also scrub and power wash with cleaning chemicals to remove tougher stains such as grease spots, leaf stains, and tire marks. Periodic sealing will prevent concrete from becoming a breeding ground for bacteria; it will protect it from moisture and avoid premature abrasion.


